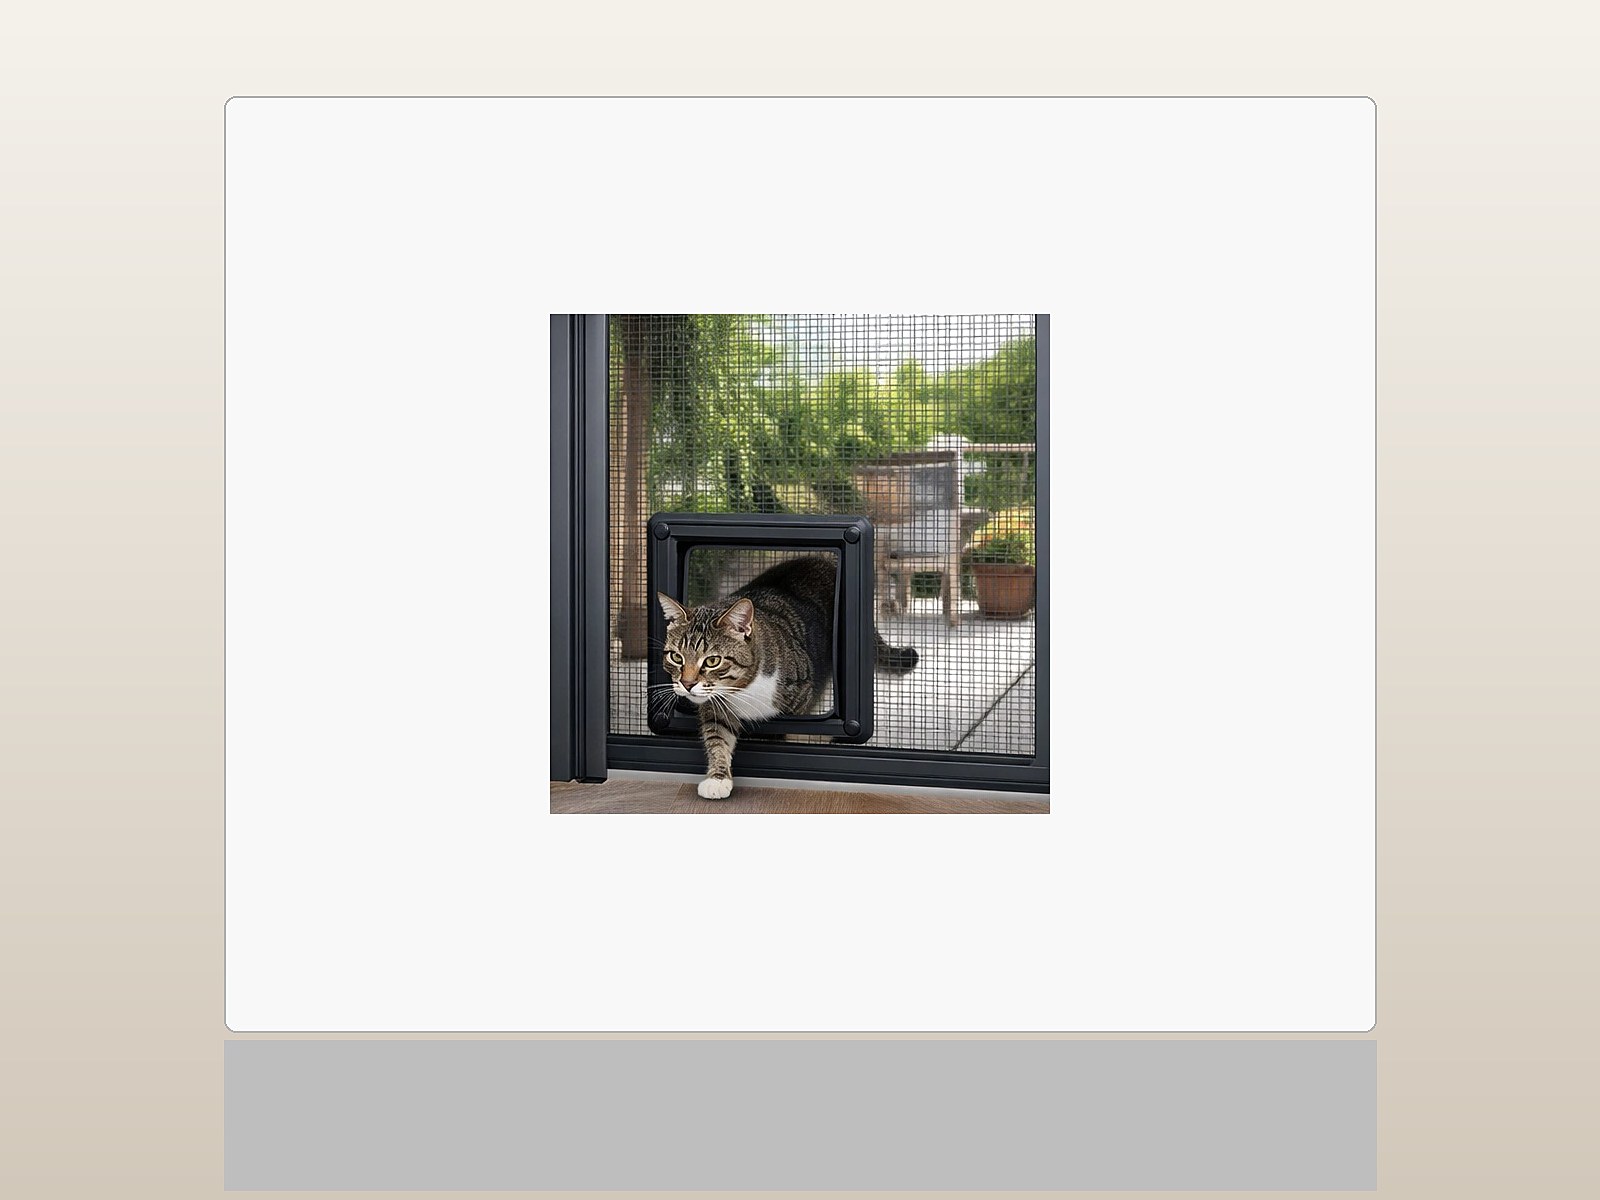
Fly Screen Mesh Replacement and Gasket Renewal Guide: How to Do It Step by Step
Fly screen mesh that becomes worn, torn, or brittle from sun exposure over time loses its function and allows pests to get inside. Instead of ordering a brand-new screen, you can restore your fly screens to like-new condition by carrying out the mesh replacement and gasket renewal process yourself. Here is a professional replacement guide that meets 2026 standards.
1. Materials Needed for Fly Screen Repair
Preparing a complete set of tools before you begin ensures a tighter, more attractive final result:
- New Fly Screen Mesh: (Fiberglass mesh is common, while steel wire mesh is recommended for pet/cat screens.)
- New Fly Screen Gasket (Spline): (Standard 4.5 mm or 5 mm rubber spline is typically used.)
- Spline Roller Tool: Essential for pressing the mesh into the channel without damaging it.
- Utility Knife and Scissors: For trimming excess material with precision.
- Flat-Head Screwdriver: For prying the old spline out of the channel.
2. Removing the Old Mesh and Spline
A clean start is essential for a successful renewal:
- Removing the Frame: Take the hinged or pleated fly screen frame out of its position and lay it flat on a level surface (a table or balcony floor).
- Removing the Old Spline: Find the joint point of the spline with the tip of the screwdriver and pull it free. Once the spline is out, the old mesh will come loose on its own.
- Cleaning the Channel: Use a brush to clean out the dust and dirt that has built up in the frame channel. This allows the new spline to seat fully into the groove.
3. Fitting the New Mesh and Tensioning Techniques
The key trick here is making sure the mesh isn't left loose:
Lay the new mesh over the frame so that it overhangs each edge by at least 2-3 cm. Gently stretch the mesh by hand and align it over the channel. If you pull the mesh too tight, the frame can bow inward (a "watch-glass" effect), so aim for balanced, even tension.
4. Fitting the New Spline (Rubber Cord)
How you fit the spline determines the lifespan of the screen:
Starting from a corner, place the spline over the channel. Using the spline roller tool, press the spline together with the mesh down into the channel. When you reach the corners, push the spline firmly into place with the screwdriver. After going all the way around the four sides of the frame, trim off the excess spline with scissors and join the ends.
5. Trimming the Excess and Finishing Touches
For a professional finish, trim the excess mesh left on the outside of the channel using a utility knife. While doing this, keep the blade angled against the outer edge of the frame rather than against the spline, so you get a clean cut without damaging the spline.
Fly Screen Repair and On-Site Support in Tbilisi
Fly screen mesh replacement can be a demanding job, and frame warping sometimes calls for professional intervention. If you need fly screen repair in Tbilisi, tear-resistant pet screen replacement, or on-site spline renewal, feel free to contact our Best Soft team.
We offer same-day service across Tbilisi and carry out maintenance on all your fly screen models using professional equipment.
Don't waste time with torn fly screens — call us now and protect your home against pests again!